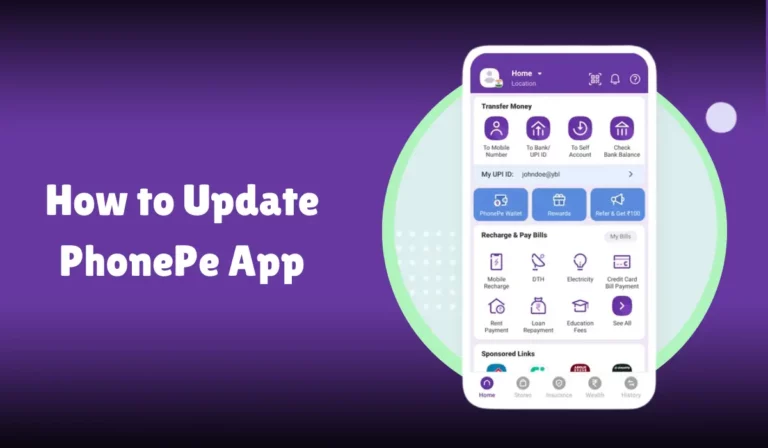
How to Create VPA in PhonePe
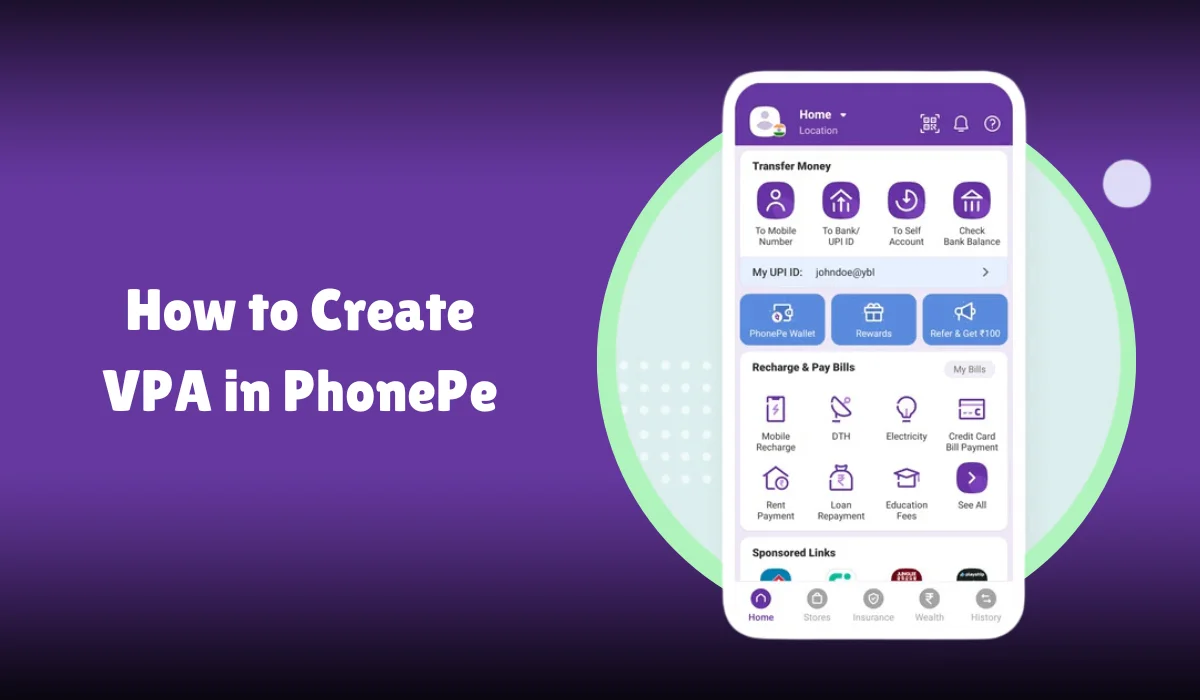
Creating a Virtual Payment Address (VPA) in PhonePe is a straightforward process that allows you to make secure and seamless transactions using the Unified Payments Interface (UPI).
This detailed guide will walk you through every step of the process, ensuring you understand all related aspects, including bank account linking, security features, and troubleshooting common issues.
By the end of this article, you will clearly understand how to set up your VPA and make the most out of PhonePe’s features.
How to Create VPA in PhonePe
A Virtual Payment Address (VPA) is a unique identifier that you can use to send and receive money without sharing your bank account details.

PhonePe is India’s leading digital payment app that leverages the UPI system to facilitate instant money transfers between bank accounts.
Why Use PhonePe and VPA?
- Security: With a VPA, your bank account details remain confidential, reducing the risk of fraud.
- Convenience: No need to remember or share long bank account numbers and IFSC codes.
- Speed: Instant transactions through the UPI system.
Prerequisites for Creating a VPA in PhonePe
Before you create a VPA in PhonePe, ensure you have the following:
- PhonePe App installed on your smartphone.
- A valid mobile number linked to your bank account.
- A bank account that supports UPI.
- Email ID (optional but recommended for additional security).
- Completed KYC (Know Your Customer) verification on PhonePe.
Step-by-Step Guide to Creating a VPA in PhonePe
1. Download and Install the PhonePe App
You can download the PhonePe App from the Google Play Store or Apple App Store if you haven’t already installed it. Follow the instructions to install the app on your device.
2. Register on PhonePe
- Open the PhonePe App.
- Enter your mobile number. Ensure this number is linked to your bank account.
- Verify your number using the OTP (One-Time Password) sent to your phone.
- Create a PhonePe PIN for secure access to the app.
3. Link Your Bank Account
- Open the PhonePe app and navigate to the “My Money” section.
- Select “Bank Accounts” under the “Payment Methods” tab.
- Tap on “Add New Bank Account” and select your bank from the list.
- PhonePe will automatically fetch your bank account details linked to your mobile number.
- Verify your bank account by entering the last six digits of your debit card and the expiry date.
- Set a UPI PIN if you haven’t already. This PIN will be used to authorize transactions.
4. Create Your Virtual Payment Address (VPA)
- Go to the “My Money” section.
- Select “UPI IDs” under “Bank Accounts”.
- Tap on “Add New UPI ID”.
- Enter your preferred VPA (e.g., yourname@bankname). Ensure it is unique and easy to remember.
- Save the VPA. Your Virtual Payment Address (VPA) is now created and linked to your bank account.
Using Your VPA for Transactions
With your VPA set up, you can now send and receive money seamlessly. Here’s how to use it:
Sending Money
- Open the PhonePe App.
- Select “Send” on the home screen.
- Enter the recipient’s VPA or scan their PhonePe QR Code.
- Enter the amount and any remarks.
- Confirm the transaction by entering your UPI PIN.
- You will receive a notification once the transaction is successful.
Receiving Money
- Open the PhonePe App.
- Navigate to the “My Money” section.
- Select “Request” and enter the payer’s VPA.
- Enter the amount and any remarks.
- Tap “Request Money”. The payer will receive a notification to approve the transaction.
Managing Your PhonePe Account
Viewing Transaction History
To view your transaction history:
- Open the PhonePe App.
- Go to the “History” section.
- You can view all past transactions, including successful payments, pending requests, and failed transactions.
Troubleshooting Common Issues
Here are some common issues you might encounter and how to resolve them:
Transaction Failure: Ensure your internet connection is stable and you have entered the correct UPI PIN. If the issue persists, contact PhonePe Customer Support.
Incorrect UPI PIN: If you forget your UPI PIN, you can reset it by verifying your debit card details and entering a new PIN.
Bank Account Verification Failure: Ensure your mobile number is linked to your bank account. If the problem continues, contact your bank for assistance.
Enhancing Security on PhonePe
Security is paramount when dealing with digital payments. PhonePe offers several features to protect your transactions:
Two-Factor Authentication
Enable Two-Factor Authentication (2FA) for an added layer of security. You must enter a second verification code sent to your mobile number or email.
Transaction Limits
Be aware of the transaction limits set by your bank and PhonePe. This helps prevent unauthorized large transactions.
Here is a table summarizing the transaction limits for various banks:
| Bank Name | Daily Transaction Limit | Monthly Transaction Limit |
|---|---|---|
| State Bank of India | ₹1,00,000 | ₹30,00,000 |
| HDFC Bank | ₹1,00,000 | ₹30,00,000 |
| ICICI Bank | ₹1,00,000 | ₹30,00,000 |
| Axis Bank | ₹1,00,000 | ₹30,00,000 |
| Punjab National Bank | ₹50,000 | ₹15,00,000 |
PhonePe Security Features
PhonePe includes several built-in security features:
- PhonePe PIN: A 4-6 digit PIN required to access the app.
- Biometric Authentication: Use fingerprint or facial recognition to secure the app.
- Payment Notifications: Receive instant notifications for all transactions.
Handling Suspicious Activity
If you notice any suspicious activity on your PhonePe account:
- Open the PhonePe App.
- Go to the “Help” section.
- Select “Report an Issue” and follow the prompts to contact PhonePe Customer Support.
PhonePe Wallet and Offers
Adding Money to PhonePe Wallet
You can add money to your PhonePe Wallet from your linked bank account or debit/credit card:
- Open the PhonePe App.
- Go to the “Wallet” section.
- Tap “Add Money”.
- Enter the amount and choose the payment method.
- Confirm the transaction.
PhonePe Cashback and Offers
PhonePe frequently offers cashback and discounts on various transactions. To check for current offers:
- Open the PhonePe App.
- Go to the “Offers” section.
- Browse through the available offers and select the ones applicable to your transactions.
Advanced Features of PhonePe
Linking Multiple Bank Accounts
You can link multiple bank accounts to your PhonePe profile for convenience:
- Go to the “My Money” section.
- Select “Bank Accounts”.
- Tap “Add New Bank Account” and follow the verification process.
Using PhonePe QR Code for Payments
You can use the PhonePe QR Code for quick payments:
- Open the PhonePe App.
- Tap “Scan QR Code” on the home screen.
- Scan the merchant’s QR code.
- Enter the amount and confirm the payment by entering your UPI PIN.
Merchant Payments and PhonePe for Business
PhonePe is not just for personal transactions. Businesses can use PhonePe for seamless payment collection:
- Register as a Merchant: Download the PhonePe Business app and complete the registration.
- Generate QR Code: Generate a PhonePe QR Code for your business and display it for customers.
- Track Payments: Use the app to track incoming payments and manage your business finances.
Customer Support and Help
PhonePe Help Center
If you encounter any issues or have questions, the PhonePe Help Center is a valuable resource:
- Open the PhonePe App.
- Go to the “Help” section.
- Browse through the FAQs or contact customer support directly.
Contacting PhonePe Customer Support
For immediate assistance, you can contact PhonePe Customer Support via the app:
- Open the PhonePe App.
- Go to the “Help” section.
- Select “Contact Us” and choose the preferred method (chat or call).
QNAs
How do I create a VPA in PhonePe?
To create a VPA in PhonePe, follow these steps:
- Open the PhonePe app and log in.
- Go to the My Money section.
- Select UPI IDs under Payment Methods.
- Tap on Create New VPA.
- Enter your preferred VPA and tap Confirm.
Can I have multiple VPAs on PhonePe?
Yes, PhonePe allows users to create multiple VPAs. This can be useful for organizing transactions or for different purposes, such as personal and business.
What should I do if my preferred VPA is already taken?
PhonePe will prompt you to choose a different VPA if your preferred VPA is already taken. You can try different combinations or use numbers to create a unique identifier.
Is there a fee to create a VPA on PhonePe?
No, creating a VPA on PhonePe is completely free. There are no charges for creating or using VPAs for transactions.
How do I link my bank account to my VPA in PhonePe?
To link your bank account to your VPA:
- Open the PhonePe app and log in.
- Go to My Money and select UPI IDs.
- Choose the VPA you want to link.
- Select Add Bank Account and choose your bank.
- Follow the prompts to link your bank account to the VPA.
What can I do if my VPA in PhonePe is not working?
If your VPA in PhonePe is not working:
- Ensure you have a stable internet connection.
- Check if your bank is linked correctly.
- Verify if the VPA is active and linked to the correct bank account.
- Contact PhonePe support if the issue persists.
Conclusion
Creating a Virtual Payment Address (VPA) in PhonePe is a simple yet powerful way to manage your digital payments securely and efficiently.
By following the steps outlined in this guide, you can set up your VPA, link your bank accounts, and easily start making transactions.
Always ensure you use the security features PhonePe provides to protect your account. Enjoy the convenience of digital payments with PhonePe.

